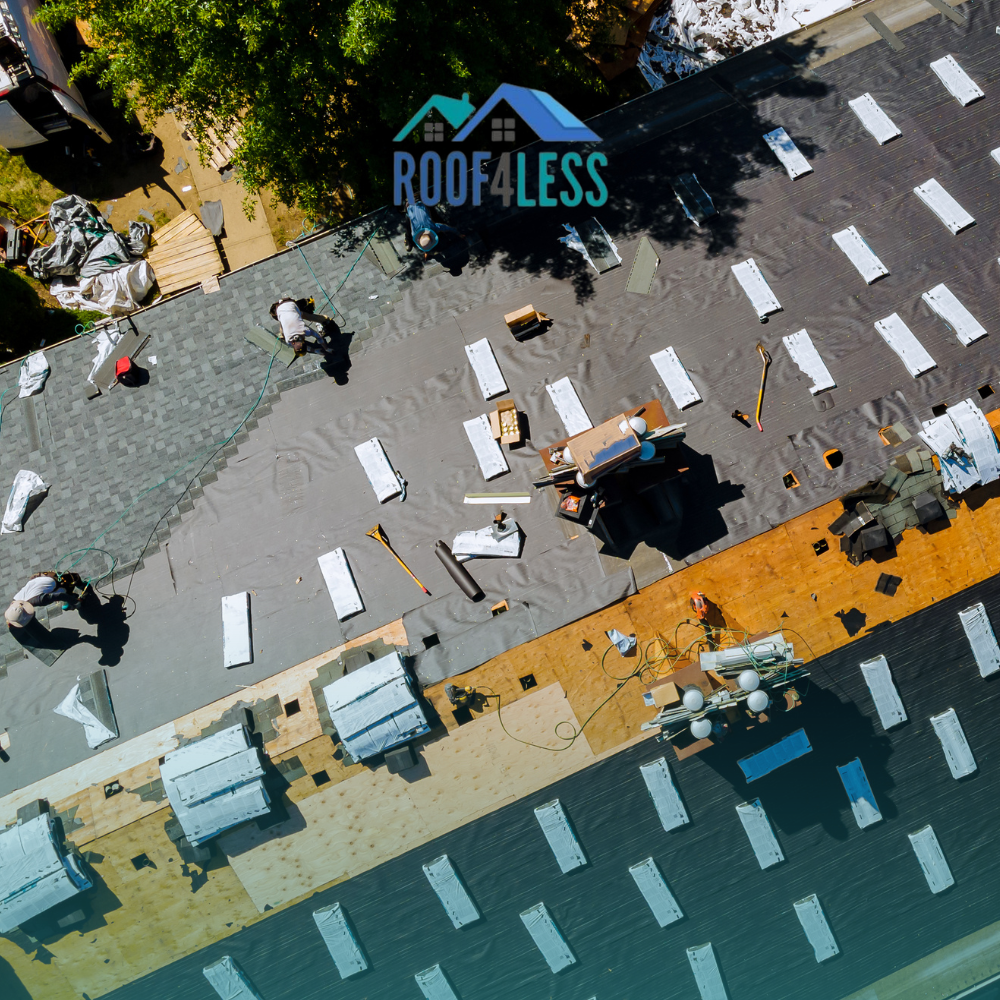
A shingle roof is a durable and reliable choice for many homeowners, but like any other part of your home, it eventually requires replacement. Understanding the roofing replacement process can help you make informed decisions and prepare for what’s to come. This step-by-step guide will walk you through the process of shingle roof replacement, ensuring you know what to expect every step of the way.
Step 1: Initial Roof Inspection and Assessment
The first step in the roofing replacement process is a thorough inspection by a professional roofing contractor. During this assessment, the roofer will evaluate the condition of your existing shingles, identify any underlying damage, and determine whether a full replacement is necessary. This step is crucial for understanding the scope of work required and for getting an accurate estimate of the costs involved.
Step 2: Selecting the Right Shingles
Once the need for a roofing replacement is confirmed, the next step is selecting the right shingles for your home. Shingles come in various materials, colors, and styles, each offering different levels of durability and aesthetic appeal. Your contractor can help you choose shingles that complement your home’s architecture and meet your budget and performance needs. Popular choices include asphalt shingles, architectural shingles, and designer shingles.
Step 3: Preparing the Roof for Replacement
Before the new shingles can be installed, the old roofing material must be removed. This step involves stripping away the existing shingles and underlayment to expose the roof deck. During this phase, your contractor will also inspect the roof deck for any signs of damage or rot that need to be addressed before proceeding. Proper preparation is key to ensuring that the new roofing replacement is installed on a solid foundation.
Step 4: Installing the New Shingles
With the roof deck prepared, the installation of the new shingles begins. First, a new underlayment is applied to provide an additional layer of protection against moisture. Next, the shingles are carefully laid out and secured, starting from the bottom edge of the roof and working upward. This method ensures that the shingles overlap correctly, providing effective water runoff and protection from the elements. The quality of the installation process is critical to the longevity and performance of your roofing replacement.
Step 5: Final Inspection and Cleanup
After the new shingles are installed, a final inspection is conducted to ensure everything meets the highest standards of quality. The contractor will check for proper installation, ensure that all components, such as flashing and vents, are securely in place, and verify that the roof is fully sealed. Once the inspection is complete, the job site is thoroughly cleaned, leaving your home looking neat and your new roof ready to protect your home for years to come.
Understanding the step-by-step process of shingle roofing replacement can help you feel more confident and prepared as you embark on this important home improvement project. From the initial inspection to the final cleanup, each stage plays a vital role in ensuring the success and durability of your new roof. If your roof is showing signs of wear or nearing the end of its lifespan, consider consulting with a professional roofing contractor to discuss your roofing replacement options and get started on the path to a stronger, more beautiful home.
READ MORE:
How Shingle Roofing Replacement Enhances Your Home’s Curb Appeal

